
Most people need an emergency fund that covers three to six months of essential expenses, and a first goal of $500 to $1,000 if you are starting from zero. The slow part is finding the extra cash to get there. So this list covers the best types of money-making websites you can use to speed up your emergency fund, in the order we would try them, along with the numbers you need to know before you start.
TL;DR
- A common target is three to six months of essential living expenses, not total spending.
- If you are starting out, a first goal of $500 to $1,000 covers many common surprises, such as a car repair.
- Money-making websites work best as a feeder: every payout goes straight to a separate savings account, not into daily spending.
- Keep the fund in an insured account that is separate from checking, and set rules for what counts as an emergency.
Table of Contents
- What an emergency fund is and what it should cover
- How much you need: a quick way to calculate it
- 7 types of money-making websites that can fill your fund faster
- Quick comparison
- 5 steps to turn side income into a funded emergency account
- Where to keep the money
- Rules that keep the fund intact
- Our perspective
- Put your plan on paper
- FAQ
- Sources
What an emergency fund is and what it should cover
An emergency fund is cash set aside for unplanned, non-routine costs. The Consumer Financial Protection Bureau lists major car or home repairs, medical bills and loss of income as typical examples. It is not a vacation fund, a holiday gift fund or a place to put money you will spend next month.
The same CFPB guide advises writing down your own guidelines for what counts as an emergency. That one habit protects the fund from being drained by things that were predictable. A simple test: if the cost is unexpected, necessary and cannot wait until your next paycheck, it qualifies.
How much you need: a quick way to calculate it
Experts often recommend three to six months of essential expenses. The Federal Reserve’s education material gives a simple method to find your number:
- Track one month of spending.
- Sort every cost into essential and non-essential.
- Add up the essentials: housing, utilities, groceries, transportation, insurance, minimum debt payments.
- Multiply by three for your baseline target, and by six for the stronger target.
Here is an example with round numbers we made up for illustration. If your essentials come to $2,800 a month, your three-month target is $8,400 and your six-month target is $16,800. Those figures are not a standard; yours will differ.
Where you land in the 3 to 6 range
There is no one-size-fits-all number. Your income stability, debts and dependents should push you toward the lower or higher end. As a rule of thumb, we would lean toward six months, or more, if:
- Your income changes from month to month, as with freelance or gig work.
- You are the only earner in your household.
- You have children or other dependents.
- Your job field has long hiring gaps.
Lean toward three months if you have two stable incomes, few fixed obligations and good access to benefits.
Is $1,000 enough?
It is a start, not a finish. State financial regulators describe $1,000 as a practical starting goal for smaller emergencies, and the next step is to keep building toward three to six months. A $1,000 cushion will not cover a job loss, but it can keep a flat tire from landing on a credit card. Borrowing for emergencies often adds interest and fees, which can start a cycle of debt.
7 types of money-making websites that can fill your fund faster
Cutting spending only goes so far. Adding income is often the quicker lever, and the internet offers several routes. We describe these by type, not by brand, because the best individual site changes over time. Before you sign up for any of them, read the payment terms, check how and when you get paid, and never pay a fee to “unlock” work.
The ranking below weighs three things: how soon you can start, how much skill it needs and how predictable the payout tends to be. Actual earnings vary widely and we cannot promise any figure.
1. Freelance marketplaces
These sites connect you with clients who need writing, design, bookkeeping, editing, social media help, virtual assistance or programming. They sit at the top of our list because the pay depends on skills you may already have, and one finished project can fund a meaningful slice of your first $1,000.
How to use it for your fund:
- Pick one service you can describe in a sentence and build a small, honest profile around it.
- Start with a few smaller projects to collect reviews.
- Decide in advance that the payout from your first project goes straight to your emergency account.
Watch for: platform fees, slow client payments and the time it takes to land the first job. Set aside a portion of the income for taxes, since freelance income is generally taxable. The IRS can tell you what applies to you, and a tax professional can help if your situation is complex.
2. Tutoring and online teaching sites
If you are strong in a school subject, a language, music or test preparation, tutoring sites let you teach by video call on a schedule you choose. Rates depend on the subject, your experience and the platform, so compare a few before you commit.
Why it ranks high: sessions are repeatable. A student who books weekly gives you predictable income, which makes it easier to set a fixed monthly transfer to savings.
3. Gig and delivery platforms
Ride, grocery delivery and errand apps let you earn in the hours you pick. They rank in the middle of our list because you can begin quickly, often within days, but your costs (fuel, wear on your car, insurance) take a bite out of every payout. Track your net earnings, not the headline number.
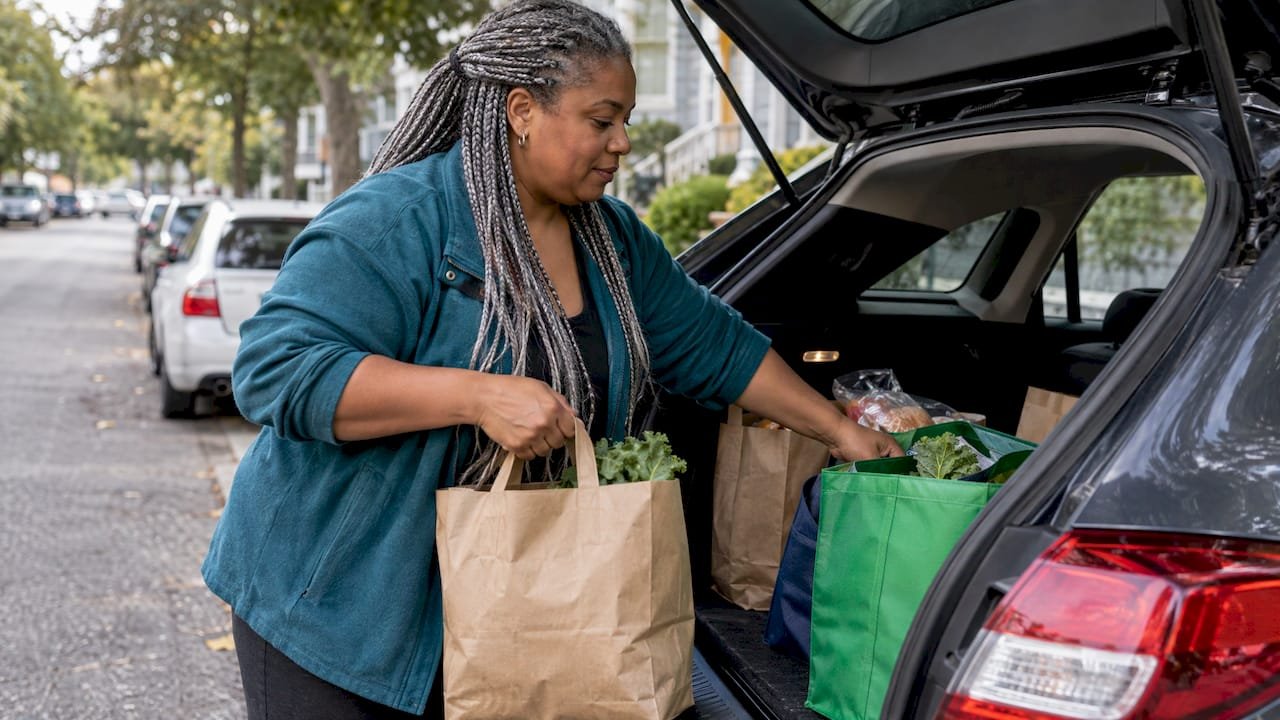
Use them as a short-term sprint: choose a dollar goal, such as your first $500, work toward it, then stop or scale back once you reach it.
4. Online selling marketplaces
These websites let you sell items you already own, such as clothing, electronics, furniture, books or sports gear. It is the fastest way to turn clutter into cash and costs almost nothing but your time.
Tips that help:
- Photograph items in natural light and describe flaws plainly.
- Check the platform’s selling fees before you list.
- Price a little under similar listings if you want a quick sale.
- Move the proceeds to savings the same day, before they blend into your spending money.
A one-time decluttering sale will not build a six-month fund, but it can reach a $500 starter goal in a few weekends.
5. Print-on-demand and digital product storefronts
These sites let you upload designs, templates, planners, printables or e-books, and the platform handles the checkout. They are slower and less certain than the options above, because you build the product first and then wait for buyers. For that reason they rank fifth, even though the time you put in can keep paying off.
If you want to explore this path, our guide to passive income ideas for beginners walks through what takes effort up front and what truly runs on its own.
6. Microtask, survey and testing sites
These sites pay small amounts for short jobs: answering surveys, tagging data, testing a website. They need no special skills, which is their appeal. The trade-off is that individual payouts are small and often come with minimum cash-out thresholds, so treat them as a way to use spare minutes, such as a commute, rather than a main income stream.
Safety first: legitimate sites do not ask you for money up front, and you should not hand over sensitive financial details beyond what a payout needs. Use a separate email address for sign-ups.
7. Cash-back and rewards websites
These are the lowest-effort option and the lowest-earning. You shop as you normally would through a rewards portal, and it returns a small percentage. They make the list because they require no new work, but only use them for purchases you were already going to make. Spending extra to earn cash back defeats the purpose.
Automate where you can: when a payout lands, move it to your emergency account.
Quick comparison
| Type | How soon you can start | Skills needed | Payout pattern | Best for |
|---|---|---|---|---|
| Freelance marketplaces | Days to weeks | Yes | Per project | Larger boosts toward 3 to 6 months |
| Tutoring and teaching sites | Days to weeks | Yes | Per session | Steady monthly transfers |
| Gig and delivery platforms | Days | No | Per task | Fast sprint to a first $500 |
| Online selling marketplaces | Same day | No | Per sale | One-time cash from items you own |
| Print-on-demand and digital products | Weeks to months | Some | Irregular | Building over time |
| Microtask and survey sites | Same day | No | Small, with thresholds | Spare minutes |
| Cash-back websites | Same day | No | Small, occasional | Purchases you already planned |
5 steps to turn side income into a funded emergency account
Earning is half the job. The other half is making sure the money reaches the fund.
- Open a separate account. Keep the fund away from your everyday checking so it is not spent on non-emergencies.
- Name your first target. Choose $500 or $1,000, then your three-month figure.
- Break it into pieces. The Federal Reserve’s education article suggests dividing a big goal into monthly or per-paycheck amounts to make it more attainable.
- Automate transfers. The CFPB notes that recurring transfers from checking to savings are often one of the easiest ways to stay consistent. Even a small amount set aside each day, week or payday helps.
- Add windfalls. The FDIC suggests combining regular deposits with windfalls such as a tax refund or a work bonus.
If you like a game-like approach, our savings challenge guide lays out seven plans you can start this week and pairs well with side income.
Where to keep the money
State financial regulators advise keeping an emergency fund in a separate account that is FDIC or NCUA insured, such as a regular or high-yield savings account, so the money is both protected and easy to reach. Cash at home is an option, but the CFPB points out that cash can be stolen, lost or destroyed.
If you are choosing between account types, we compare them in money market vs savings. Once your fund is large, our guide to HYSA vs. CD helps you decide whether to split larger balances.
Rules that keep the fund intact
- Write your definition of an emergency and keep it where you can see it.
- Use a 24-hour wait. The Federal Reserve’s education article suggests a waiting period before withdrawing to confirm the expense is a genuine emergency and not an impulse buy.
- Refill it first. After a withdrawal, restart your transfers before you resume other goals.
- Decide where debt fits. If you carry high-interest debt, our debt vs investing article helps you order your priorities after your starter cushion is in place.
Our perspective
Most people who struggle to build an emergency fund do not lack discipline. They lack a plan that fits their real life, and a clear picture of how much is enough.
We believe in the simplest possible path: find your essential monthly costs, pick a first goal you can reach in weeks, and automate everything after that. Adding income is the part many guides skip. A well-chosen side income, even a modest one, can shorten the road from months to weeks, as long as every payout has a destination.
That is why we pair budgeting basics with practical ways to earn more. Start small, keep the fund separate and let the habit do the heavy lifting.
Win Personal Finance
Put your plan on paper
If you want one place to bring your target, your income ideas and your timeline together, start with our financial management plan guide. It walks you through the steps in plain language, and you can build your emergency fund goal into it from day one.

For more beginner-friendly guidance on saving, earning and building habits that last, browse the rest of Win Personal Finance. You can also work on your biggest income lever by using our raise-asking scripts, since a higher paycheck makes every transfer to savings easier.
FAQ
How much should I have in an emergency fund?
A common recommendation is three to six months of essential expenses, such as housing, food, utilities, transportation and insurance. Add up those costs for one month and multiply by three to six. Choose the higher end if your income is irregular or others depend on you.
Is a $1,000 emergency fund enough?
It is a good starting goal and can cover smaller emergencies like a car repair. It is not enough for something like a job loss. Once you reach it, keep building toward three to six months of essential costs.
Can I build an emergency fund on a low or irregular income?
Yes. Set aside a small amount each day, week or payday, and use recurring transfers so you do not have to decide each time. On an irregular income, transfer a fixed share of every payment you receive, and add windfalls like a tax refund when they arrive.
Where should I keep my emergency fund?
Use a separate, insured account such as a savings or high-yield savings account at an FDIC- or NCUA-insured institution. Keeping it apart from checking makes it less tempting to spend, and the money stays accessible when a real emergency hits.
Sources
- An essential guide to building an emergency fund, Consumer Financial Protection Bureau
- Page One Economics: When the Unexpected Happens, Be Ready with an Emergency Fund
- Building an Emergency Savings Fund, Washington State Department of Financial Institutions
- Your Money, Your Goals: A financial empowerment toolkit, Consumer Financial Protection Bureau
- Saving for the Unexpected and Your Future, FDIC